
Lancing Devices and Lancets: Understanding the Difference
Blood glucose testing shouldn't feel like a guessing game every single time. You're juggling multiple tools, worrying about pain levels, and hoping for consistent results. Here's the truth: mastering your finger pricking routine and knowing how to properly use both lancing devices and lancets transforms testing from stressful to manageable.

1. Definition
Understanding Lancing Devices and Lancets Differences
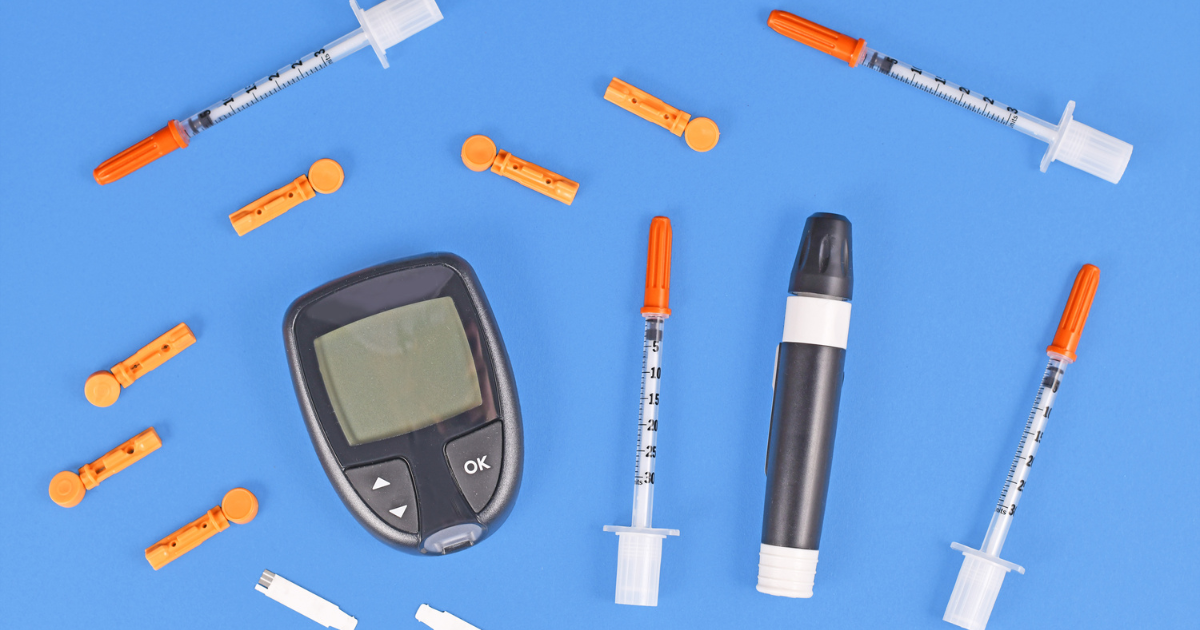
A lancing device functions as a reusable, spring-loaded mechanism. This device controls puncture depth and speed for consistent results every time.
Lancing devices and lancets serve complementary roles in glucose testing protocols. The device provides controlled mechanical action while the lancet creates the skin puncture needed for sampling.
Lancets are ultra-thin, sterile needles manufactured for single use. These tools create quick, shallow punctures that produce blood drops suitable for glucose meter analysis.
Learn more about device mechanics in our lancing device guide. Discover needle specifications through the basics of a lancet. Compare options using our blood glucose lancets comparison chart.
How Components Work Together
The lancet inserts into the device chamber through a twist-lock mechanism. Once loaded, the spring mechanism automatically controls the lancet speed and penetration depth.
This partnership ensures consistent punctures regardless of hand tremors or testing anxiety. The engineering reduces sample variability and helps minimize discomfort during testing cycles.
Mastering your knowledge of lancing devices and lancets builds confidence from day one. Understanding proper technique eliminates guesswork and creates reliable testing habits over time.
2. How They Work
Loading Your Device Correctly
Remove a fresh lancet from sterile packaging using clean hands. Insert the lancet into the device chamber following manufacturer instructions.
Twist off the lancet's protective cap and set it aside for disposal later. Replace the device's outer cap and cock the spring mechanism fully.
Select a depth setting based on skin thickness and testing experience. Start shallow and adjust deeper when needed for sufficient samples.
Executing the Test
Wash your hands with warm, soapy water and dry them before testing begins. Clean hands prevent contamination while naturally improving blood flow to the fingertips.
Position the device firmly against your fingertip's side rather than the pad area. This placement provides better comfort during puncture and faster healing afterward.
Press the trigger button smoothly to release the spring mechanism. The lancet advances at preset speed and retracts after puncture completion instantly.
Collecting Your Sample
Lift the device straight away from the puncture site. Gently squeeze the finger to encourage rounded blood drop formation.
Apply the blood drop to your test strip according to glucose meter instructions. Work efficiently to prevent sample clotting or evaporation problems.
Remove and dispose of the used lancet in appropriate sharps containers. Handle your lancing devices and lancets gently to prevent accidental drops. Never reuse lancets as this increases pain and infection risks substantially.
Comfort Enhancement Technology
Testing anxiety affects many people and can disrupt consistent glucose monitoring routines. Consider Digivibe vibration therapy for natural pain reduction during punctures.
Explore the science behind Digivibe to understand controlled vibration technology. This approach effectively masks pain signals through gate control theory.
3. Choosing Tools
Compatibility Requirements
Picking the right lancing devices and lancets starts with compatibility checks. Begin your selection by confirming that preferred tools function together seamlessly without complications.
Verify lancet stem specifications match device chamber requirements before purchasing supplies. Incompatible components create safety hazards and won't function during testing sessions properly.
Essential Comfort Features
Look for devices featuring ergonomic grips that feel secure and stable in hand. Smooth trigger mechanisms reduce jerky motions that can increase puncture discomfort noticeably.
Evaluate adjustable depth settings with clear numerical markings and reliable positioning systems. Control helps identify the shallowest setting for your skin type and testing needs.
Lancet Specifications Guide
Lancet gauge numbers indicate needle thickness, with higher numbers representing thinner needles progressively. Most users prefer 30-gauge or 33-gauge options for enhanced comfort during testing sessions.
Special surface coatings like silicone or polymer treatments reduce friction during skin penetration substantially. These features create smoother punctures and improved comfort levels for daily testing routines.
Lancing devices and lancets with quality materials and engineering provide superior long-term performance and satisfaction. Investment in reliable equipment pays dividends through consistent, comfortable testing experiences.
Managing Testing Anxiety
Needle fear affects many individuals and can seriously interfere with consistent monitoring habits. Read about needle phobia symptoms and evidence-based management techniques.
Learn practical strategies for overcoming needle fear. Healthcare professionals recommend these approaches to their patients regularly.
Discover comprehensive injection pain relief approaches, including vibration therapy. Additional options include relaxation techniques and distraction methods for complete comfort management.
Read the inspiring story behind Digivibe. Learn how patient-centered innovation addresses real-world medical device challenges effectively.
4. Safety Tips
Sterile Technique Protocols
Always use fresh, sterile lancets for every test. Reused lancets become dull and harbor dangerous bacteria that cause infections.
Store your finger-stick supplies in clean, dry environments away from moisture and temperature extremes. Secure all supplies away from children and household pets for safety.
Proper Disposal Procedures
Dispose of used lancets in FDA-approved sharps containers designed for medical waste. Never place loose sharps in regular household trash or recycling bins under any circumstances.
Many communities provide sharps collection through local pharmacies, medical clinics, or mail-back programs conveniently. Contact health departments for approved disposal locations near your home.
Follow comprehensive safety protocols recommended by the American Diabetes Association for optimal testing procedures. These guidelines ensure proper risk management and testing accuracy.
Review the current FDA guidelines for sharps disposal for detailed requirements on handling and disposing of medical waste.
Testing Best Practices
Warm hands before using lancing devices and lancets to boost blood flow and reduce puncture depth. Cold fingers produce insufficient samples and may require deeper, more painful punctures.
Rotate testing sites between different fingers to prevent callus formation and maintain sensitivity levels. Alternate between left and right hands for balanced site management and healing.
Equipment Maintenance
Clean devices according to manufacturer specifications using appropriate medical-grade disinfectants. Replace any devices that crack, malfunction, or fail to cock during operation.
Never share a lancing device with other people under any circumstances. Sharing medical devices creates cross-contamination and infection risks for everyone involved in testing.
Check expiration dates on lancet packaging and replace expired supplies promptly. Old lancets may lose sterility and sharpness standards required for safe, comfortable use.
Avoid excessive squeezing at puncture sites as this dilutes blood samples with tissue fluid unnecessarily. Gentle pressure produces cleaner, more accurate samples for reliable glucose readings and better diabetes management.
Ready for gentler blood testing? Shop lancing devices and lancets that pair perfectly with Digivibe today.
Share:
0 comments
Disclaimer: This blog is intended for general informational purposes only and does not constitute or substitute for professional medical advice, diagnosis, or treatment. Suthe does not provide medical services, and no content herein should be used to make healthcare decisions without first consulting a licensed healthcare provider. Always seek the guidance of a qualified medical professional regarding your health, wellness practices, or the use of any medical or wellness devices.