
5 Easy Steps: How to Inject Ozempic at Home With Confidence
If you're new to injectable medications, learning how to inject Ozempic may seem overwhelming at first. The good news is that with the right steps and tools, it becomes a fast, comfortable part of your weekly routine. In this guide, you'll learn how to inject Ozempic correctly, reduce discomfort, and feel more confident with every dose. From site selection to technique tips, everything you need is right here.
What You’ll Need
Before injecting, gather the following:
- Your Ozempic pen
- A new disposable needle
- Alcohol swab or clean cotton pad
- Sharps disposal container
- Optional: Digivibe to reduce injection pain using gentle vibration

Where to Inject Ozempic
Ozempic is injected just under the skin—this is called a subcutaneous injection. You can use:
- Abdomen (except the 2-inch radius around the belly button)
- Front of your thigh
- Back of the upper arm (usually with caregiver help)
The abdomen is often the preferred site, but the thigh and upper arm are equally safe options for injecting Ozempic.Rotating injection sites is essential for avoiding irritation and improving absorption. Learn more in our full Ozempic Injection Sites Guide.
According to Novo Nordisk, all three locations are safe when injected properly.
How to Inject Ozempic: Step-by-Step
Each step in this guide will show you how to inject Ozempic safely, effectively, and with as little discomfort as possible. If you're new to Ozempic or want to refine your injection routine, this resource breaks down the full process — from preparation and site selection to injection and aftercare. Learning how to inject Ozempic the right way not only improves comfort, it also builds confidence and consistency in your weekly routine.
1. Wash and Prep
- Wash your hands thoroughly with soap and water
- Choose a clean, well-lit workspace
- Double-check your medication label for dose and expiration
2. Prepare the Pen
- Attach a new needle
- Remove both the outer and inner needle caps
- Prime the pen (if instructed in your Ozempic guide)
- Dial the dose as directed by your provider
3. Clean the Injection Site
- Choose from the abdomen, thigh, or upper arm
- Wipe the area with an alcohol swab
- Let it dry completely before injecting
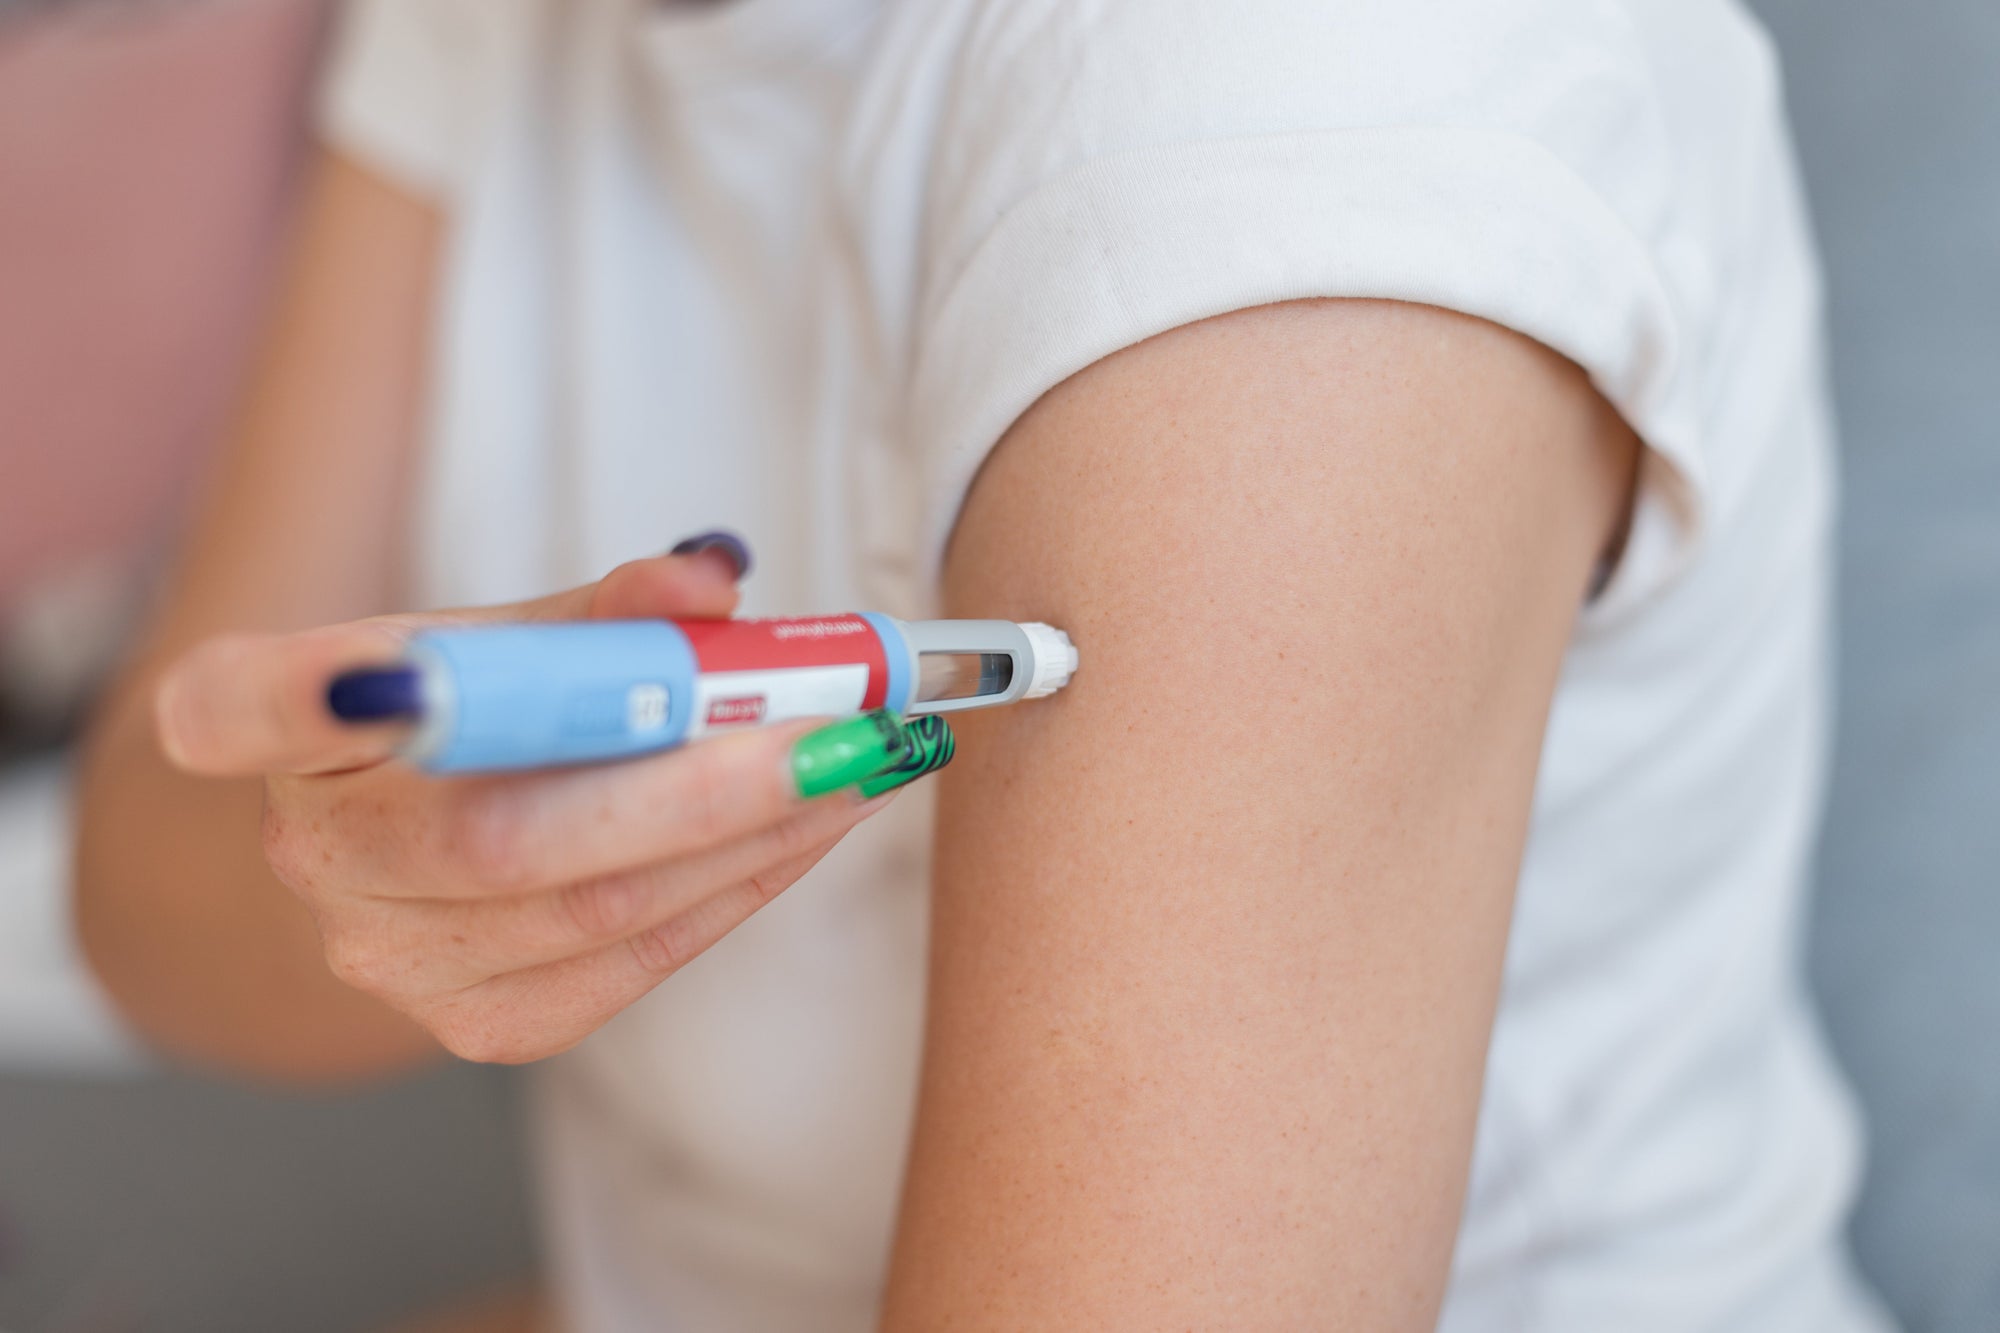
4. Inject the Medication
- Gently pinch a fold of skin
- Insert the needle at a 90-degree angle
- Press and hold the injection button until the full dose is delivered (about 5–10 seconds)
- Remove the needle and release the skin fold
5. Dispose and Log
- Place the used needle in a sharps container
- Recap the pen and store it as instructed
- Log the injection site to ensure you rotate locations each week
For visual reference, Cleveland Clinic’s guide to subcutaneous injection is helpful if you're new to the process.
Tips for a More Comfortable Ozempic Injection Experience
If you’re learning how to inject Ozempic, it’s natural to feel a bit uncertain—especially when it comes to pain or technique. The good news is that with a few simple changes to your routine, each injection can become easier, faster, and much more comfortable. Whether you're just starting out or refining your approach, the tips below will help reduce pain and improve your experience with Ozempic injections at home.
- Let the alcohol fully dry before injecting. Wet skin can cause extra stinging or burning when the needle enters. Allow the alcohol to air dry completely before starting.
- Always use a new, sharp needle. Reusing needles can cause the tip to dull, which leads to more drag, more pain, and increased risk of irritation or bruising.
- Relax your muscles and breathe out slowly. Tension makes injections feel more intense. Take a few calm breaths before injecting and try to keep the surrounding area relaxed.
- Pinch the skin gently, not too tightly. Pinching helps lift the fat layer for subcutaneous delivery, but pinching too hard can bruise or distort the injection site.
- Inject slowly and steadily. Avoid jabbing or pushing the pen button too quickly. A smooth, steady pace allows the medication to enter comfortably.
- Apply ice to the area before injecting. Icing for 1 to 2 minutes before the injection can numb the area slightly and make the pinch feel less noticeable.
Consider using a vibration tool, such as Digivibe.
Devices like Digivibe use gentle vibration at the injection site, which can help block pain signals. Many patients report that combining vibration with rotation and technique makes a big difference.


Additional pain-prevention tips can be found in our blog on Why Do Shots Hurt
The CDC also offers safety guidance for injection technique and sharps disposal.
What Not to Do When Injecting Ozempic
To get the best results and avoid unnecessary discomfort, it’s just as important to know what to avoid as it is to follow proper technique. If you're learning how to inject Ozempic, keep these key points in mind:
- Do not reuse needles. Every injection should use a brand-new, sterile needle. Reusing needles increases the risk of infection, dulls the needle tip, and can cause more pain during insertion.
- Do not inject into areas that are bruised, swollen, scarred, or irritated. Choosing a healthy, unaffected site is critical for proper absorption and minimal discomfort. Injecting into compromised skin can interfere with how Ozempic is delivered into your system.
- Do not rush your injection. If you’re in a hurry, it’s easy to miss a step or inject at the wrong angle. Learning how to inject Ozempic slowly and steadily helps ensure the full dose is delivered and reduces the chance of stinging or burning.
- Do not skip site rotation. Rotating your injection sites helps prevent skin irritation and tissue damage over time. Keep track of which area you used last so you don’t repeat the same location too often. If you’re unsure where to inject Ozempic next, refer back to our guide on injection site rotation.
Frequently Asked Questions
Do I have to inject Ozempic at the same time each week?
Yes. Choose one day and stick with it. Set a phone reminder to help build the habit.
Can I inject into the same area each week?
Yes, but rotate spots within that area. For example: if you use the abdomen, pick a different location each time.
What if the injection hurts?
Try Digivibe or ice packs. Inject more slowly. If it continues, talk to your provider about site selection.
Should I inject Ozempic before or after meals?
Ozempic can be injected with or without food. Just stay consistent with timing.
Final Thoughts
Learning how to inject Ozempic properly is one of the most important steps in building a routine that supports your long-term health. When you use the correct injection technique, rotate sites consistently, and prepare with the right tools, each dose becomes easier and more predictable. Mastering how to inject Ozempic not only helps reduce injection pain, it also improves how your body absorbs the medication and keeps you on track with your goals.
With supplies like the Ozempic pen, safe injection sites, and comfort-enhancing tools like Digivibe, the process can be quick, low-stress, and almost pain-free. Whether you're new to GLP-1 medications or looking to improve your self-injection routine, understanding how to inject Ozempic the right way can make a real difference in your confidence and consistency week after week.
Want more help? Visit our Weight Loss Resource Page or browse more tips in the Digivibe Hub.
Share:
0 comments
Disclaimer: This blog is intended for general informational purposes only and does not constitute or substitute for professional medical advice, diagnosis, or treatment. Suthe does not provide medical services, and no content herein should be used to make healthcare decisions without first consulting a licensed healthcare provider. Always seek the guidance of a qualified medical professional regarding your health, wellness practices, or the use of any medical or wellness devices.