
5 Proven Blood Glucose Fingerstick Tips for 2025
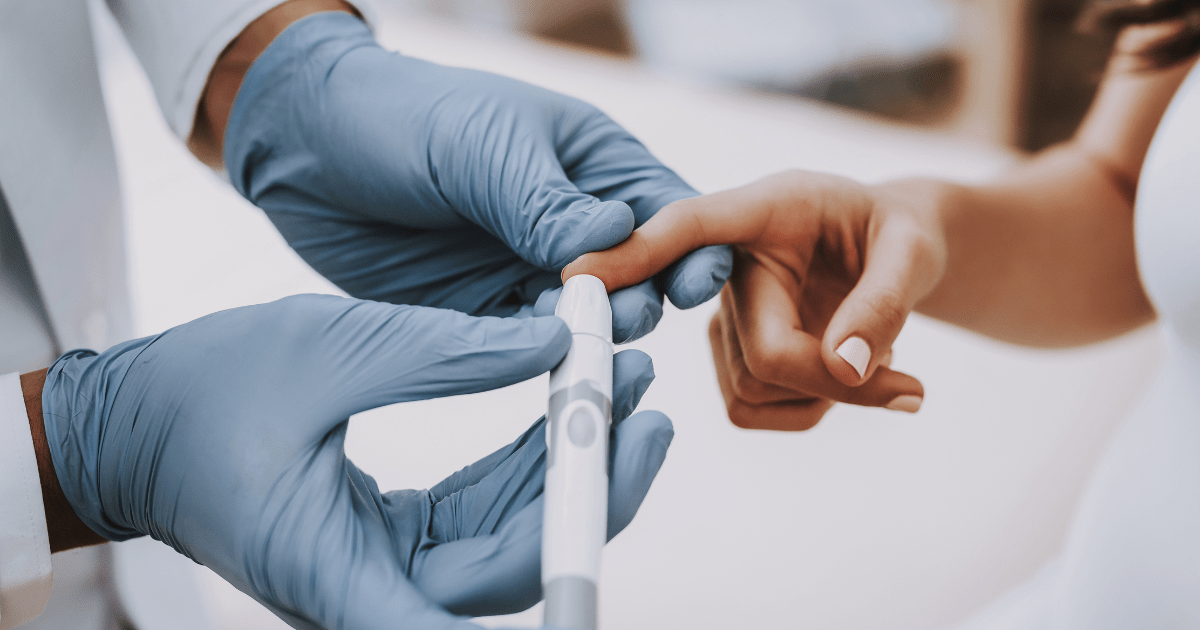
Despite advances in continuous glucose monitoring, a blood glucose fingerstick remains essential for many people managing diabetes. Regular testing provides critical data for making informed decisions about medication timing and dietary choices.
For those with type 1 or type 2 diabetes, accurate readings offer immediate feedback that CGMs sometimes miss. While CGMs sample interstitial fluid (with a lag of 15-20 minutes), direct blood sampling via a blood glucose fingerstick delivers real-time glucose levels needed for precise insulin dosing.

Mastering proper blood glucose fingerstick technique has a significant impact on both comfort and accuracy. Here are expert tips to make your testing experience more effective and less painful.
1. Prep: Warm Up and Wash Hands
Before performing a fingerstick, wash your hands with warm water and soap for at least 20 seconds. This removes contaminants that may affect your reading and improves circulation. A 2019 study found unwashed hands with fruit residue could inflate readings by 10-30%.
Warming your hands increases blood flow to capillaries. Try rubbing them together or holding them under warm water for 30-60 seconds. This reduces the need for squeezing, which often dilutes blood with tissue fluid and leads to inaccurate readings.
For individuals experiencing diabetes fatigue, establishing an efficient blood glucose fingerstick routine can help conserve energy.
2. Equipment: Lancet Size, Depth, and Rotation
Select the right lancet for a comfortable testing experience. We recommend consulting our lancet size guide for more information on available options. Higher gauge numbers (e.g., 33G vs. 28G) indicate thinner lancets that cause less pain.
Modern devices allow you to adjust penetration depth. Start with the shallowest setting that provides an adequate sample (often 2 or 3 for adults). Children and elderly individuals may only require a shallower settings due to thinner skin.
Using a fresh lancet for each fingerstick significantly reduces discomfort. Although it may be tempting to reuse lancets, microscope images reveal that they develop barbs after just one use and can cause additional pain and scarring.
3. Technique: Angle, Speed, and Pressure
Hold your device at about a 45-degree angle against the side of your fingertip, rather than perpendicular to the pad. This accesses the capillary network while avoiding sensitive nerve endings.
Use the lancing device's spring-loaded mechanism rather than manually pushing the lancet. The quick, controlled motion creates less pain than a slower puncture because nerve receptors have less time to transmit pain signals.
Apply gentle pressure near (not directly on) the prick site to encourage blood flow. Excessive squeezing can dilute your sample, resulting in readings that are 10-15% lower than the actual levels.
4. Blood Glucose Fingerstick Pain-Reduction Hacks
Warm Compress: Before testing, warm your hands to increase local blood flow by up to 30%. This makes capillaries more accessible for your blood glucose fingerstick.
Shake Out Tension: Tension increases pain perception. Shake your hand vigorously for 5-10 seconds before testing to improve blood flow and release muscle tension.
Fresh Lancets: Patients who switched from reusing lancets to using fresh ones reported approximately 40% less pain and fewer instances of skin damage.
Rotate Sites: Create a rotation system for all ten fingers. This allows each site to fully heal (typically 3-5 days) before being used again.
Use Finger Sides: The sides of fingertips have approximately 40% fewer nerve endings than the center pads, translating to significantly less pain while still providing accurate samples.
5. Accuracy Tips and Target Ranges
For the most accurate blood glucose fingerstick results, test before meals and 2 hours after eating a meal. Create a consistent schedule to establish patterns that reveal how different factors affect your glucose levels.
According to glucose monitoring comfort stats, proper technique can reduce reading variability by up to 15%. Generally, target ranges are 80-130 mg/dL before meals and less than 180 mg/dL two hours after eating.
Your healthcare provider may set different targets based on your specific situation. For those using multiple injections, our guide on reducing injection pain complements these fingerstick techniques.
Patient Experiences: Real Success Stories
Many patients report dramatic improvements after implementing these techniques. Sarah, a type 1 diabetic for 15 years, struggled with painful testing until she adopted the side-of-finger approach. "My fingertips were constantly sore, and testing became something I dreaded," she explains. "Now I can test without wincing."
Another success story comes from Miguel, who manages type 2 diabetes. By implementing a consistent rotation system and using the proper depth settings, he significantly reduced his discomfort. "I used to avoid testing because it hurt too much. Now it's just a minor inconvenience."
Seasonal Considerations
Weather changes can affect your testing experience. During colder months, blood circulation to extremities naturally decreases. You may need to spend extra time warming your hands before testing in winter.
Conversely, in hot weather, increased circulation might mean you need a shallower lancet depth setting to prevent excessive bleeding.
Technology Advancements
The latest generation of testing devices offers enhanced features, including illuminated target areas and ergonomic grips, that facilitate proper positioning. Some newer models incorporate vibration technology that utilizes the gate control theory of pain—essentially, the vibration sensation reaches your brain before the pain signal, thereby reducing discomfort.
As technology continues to advance, we anticipate even more comfort-focused innovations in the years to come. However, proper technique will always remain the foundation of comfortable and accurate testing.
When to Seek Help
Watch for signs of infection, including redness that extends beyond the puncture site, swelling, warmth, discharge, or streaking. Even minor infections can become serious for people with diabetes.
If your blood glucose fingerstick readings are consistently outside your target range, consult your healthcare provider. The CDC's resources for living with diabetes provide excellent guidance on when to seek medical advice.
Key Takeaways
Mastering the blood glucose fingerstick technique is an investment in your health and comfort. Patients who implement these techniques report up to 70% less testing discomfort and improved consistency.
- Warm your hands before testing
- Use a fresh lancet for each test
- Rotate fingers and sites
- Select the shallowest effective depth setting
- Use the sides of your fingertips, not the pads
We invite you to explore how Digivibe can further enhance your diabetes management by reducing discomfort during fingerstick testing. Comfortable testing leads to more consistent monitoring and better long-term health outcomes.
Share:
0 comments
Disclaimer: This blog is intended for general informational purposes only and does not constitute or substitute for professional medical advice, diagnosis, or treatment. Suthe does not provide medical services, and no content herein should be used to make healthcare decisions without first consulting a licensed healthcare provider. Always seek the guidance of a qualified medical professional regarding your health, wellness practices, or the use of any medical or wellness devices.