
Sterile Lancet Care: Hygiene Practices, Storage Tips, and Safe Disposal
1. Why Using a Sterile Lancet Matters for Daily Finger Sticks
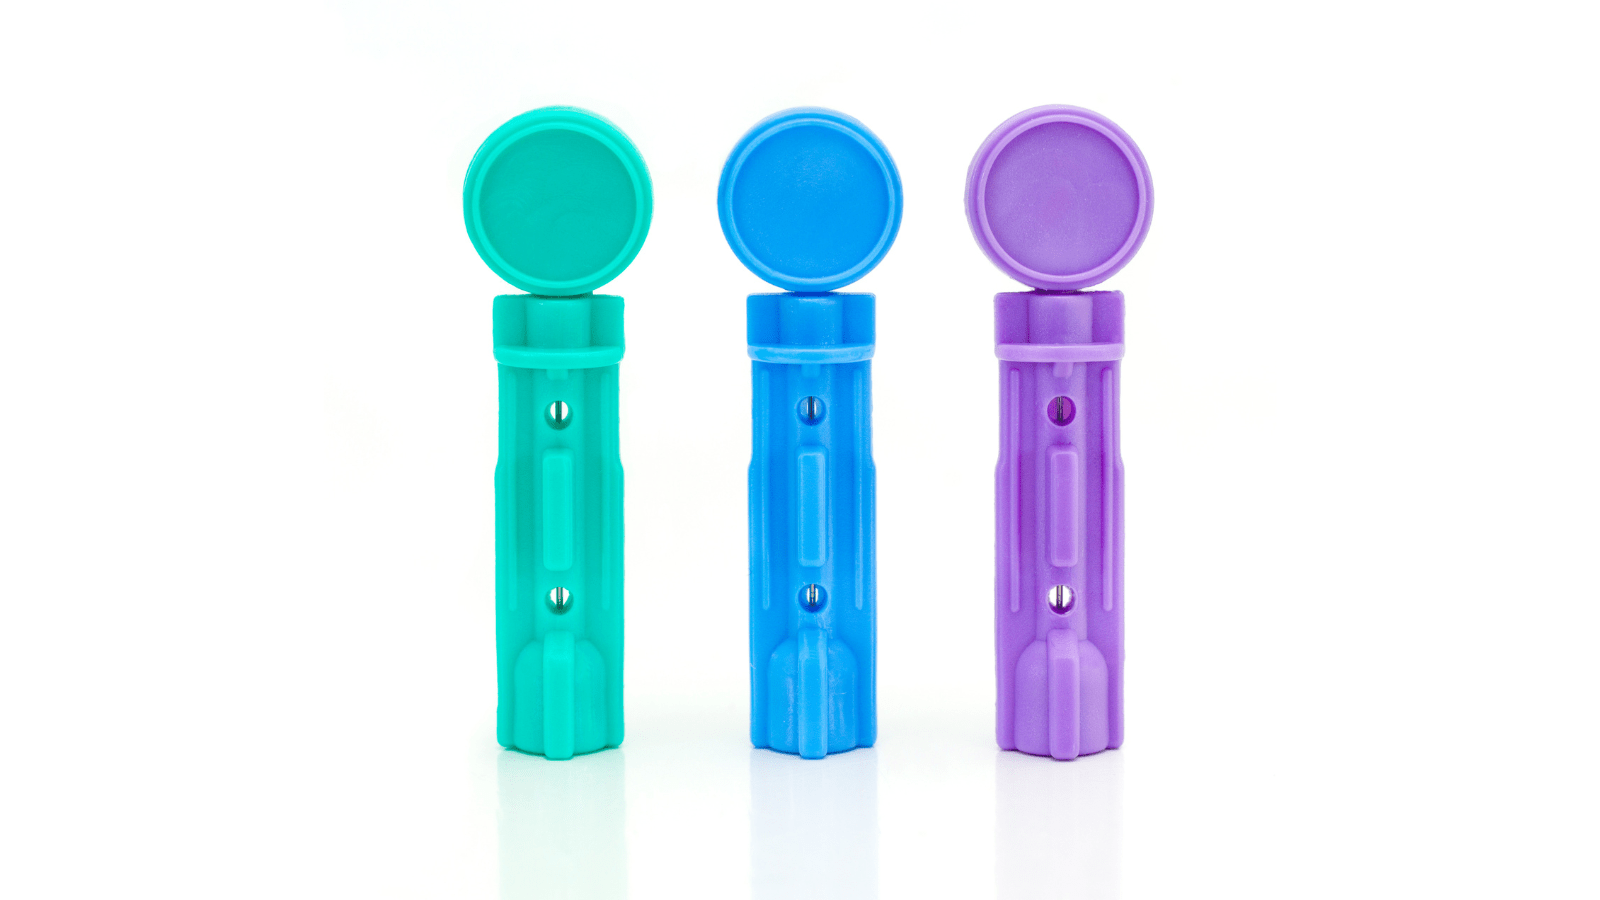
A sterile lancet protects every glucose check. Fresh, factory sealed testing needles lower contamination risk, support quick healing, and keep results consistent from day to day. For a bigger-picture look at options and accessories, skim the lancets info hub before you compare brands.

2. Cleaning Prep: Handwashing, Drying, and Set-Up
Before touching a sterile lancet, wash with soap and warm water for at least 20 seconds, rinse well, and dry completely. Moisture can move skin bacteria toward the puncture and can dilute the first blood drop. If a sink is not available, use sanitizer and wait until the skin is fully dry before loading the lancing device. For step-by-step technique, review proper handwashing steps.
Micro-steps to a clean set up:
- Wash and dry hands thoroughly.
- Place meter and strip within reach.
- Open the package only when ready and keep the sealed cap nearby.
- Cock the lancing device, then pause to check your depth.
- Position at the side of the finger, not the center pad.
Set up in this order keeps workflow smooth and prevents fumbling once you start the fingertip stick.
3. One-Time Use Only
A sterile lancet is engineered for a single puncture. After one use, micro-burrs can form and the point becomes less precise, which raises the chance of tenderness or infection. Make replacement automatic by pairing steps: Test, Eject, Then Dropping the needle into your sharps container before you log the number.
Build single-use discipline with cues you will notice: keep a discard cup for caps next to your kit, store a visible box of replacements, and set a calendar reminder for weekly inventory. For habit ideas that stick, read daily lancet tips.
Common Mistakes with Sterile Lancet Use
Reusing “just once more,” leaving an uncapped needle on a counter, carrying loose testing needles in a pocket, or sharing a lancing device. Each choice breaks sterile technique and adds risk. Replace the single-use lancet every time.
4. Storage and Temperature: Keeping the Package Sterile
Store your lancet boxes in a cool, dry cabinet, away from stoves, windows, and showers. Heat and humidity can loosen adhesives and warp plastic, which can compromise a sealed cap. Keep lancets in their original packaging until it is time for use.
Comparing Sizes? Start with a 30G lancet if your skin is thicker, or consider a 31G lancet if your skin is sensitive. For a deeper explanation of gauge and comfort, use the diabetes lancet comparison. For technical detail on thickness and skin feel, see the lancet gauge deep dive.
5. Pain-Smart Technique with a Lancing Device
Set depth conservatively and use the sides of the finger rather than the center pad. Rotate fingers to protect skin and aim for a round drop with minimal squeeze. A sterile lancet plus a lower depth setting can feel gentler and still give a full drop.
Still getting a sharp pinch? Warm your hands, shake the wrist to increase blood flow, change the sterile lancet, and try one size thinner if appropriate. For additional tactics that reduce sting, review our guide on how to reduce finger-prick pain.
Place Digivibe beside the site as you press the device. The gentle vibration distracts local nerves so the puncture feels more like a tap. If you want a short walkthrough of setup and timing, open our how-to guide.
6. Safe Caps, Containers, and Home Disposal
After each test, retract or engage the cap if present, eject straight from the device, and drop the used item into a puncture-resistant sharps container. Do not place needles in household trash or recycling. When the container reaches the fill line, close it and follow local rules for pickup or drop-off.
What works at home:
- FDA-cleared sharps container purchased at a pharmacy.
- Heavy plastic detergent bottle with a screw top labeled Sharps if local rules allow.
- A travel container for work or school so used items never go in public trash.
Keep it simple: one puncture, one sterile lancet, then disposal.
7. Travel Disposal and Public-Testing Etiquette
Pack a mini sharps container, spare strips, and extra caps. Use a clean lancet for each check even on the go, and avoid recapping by hand in a moving vehicle. Keep supplies in your carry-on when flying and allow extra time for screening. In hotels, do not use room trash; ask the front desk for sharps guidance or carry used items back in your travel container.
At work or school, test in a clean area, wipe the surface if needed, and store your container out of reach of children. Never leave devices or caps unattended on shared desks or tables.
8. Watch for Infection Signs and When to Call your Dr.
A fingertip should settle quickly after testing. Redness that spreads, warmth, swelling, tenderness that increases, pus, fever, or red streaks can signal infection, particularly if you recently skipped a sterile lancet. When in doubt, call your clinician the same day. For a medical overview of escalating skin infections, review cellulitis symptoms.
When Redness Needs Attention
If redness grows after 24 hours or pain intensifies, stop using that site. Switch to another finger with a fresh single-use lancet and contact your care team promptly.
9. Costs, Insurance, and Reorder Timing
Most plans cover lancets, lancing devices, and sharps containers. To avoid reuse, budget for one clean lancet per test, plus extras for sick days and travel. Ask your pharmacy about 90-day fills or mail-order so you do not run short. If you need replacements now, you can shop 30G lancets and set calendar reminders for automatic reorders. Flexible Spending Accounts and HSAs can often be used for supplies, including containers and alcohol pads.
10. Quick-Start Checklist
- Wash with soap and water, dry well, then load a sterile lancet.
- Use side-of-finger sites and rotate locations.
- Start with a shallow depth; adjust in small steps.
- Eject immediately after testing and place in a sharps container.
- Store supplies in a cool, dry cabinet away from sunlight.
- Pack a travel sharps container and spare sealed caps.
- Revisit comfort tactics on the glucose-monitoring comfort page.
- Review technique in the CGM finger stick explainer.
- Call your care team if redness spreads or you see drainage.
Share:
0 comments
Disclaimer: This blog is intended for general informational purposes only and does not constitute or substitute for professional medical advice, diagnosis, or treatment. Suthe does not provide medical services, and no content herein should be used to make healthcare decisions without first consulting a licensed healthcare provider. Always seek the guidance of a qualified medical professional regarding your health, wellness practices, or the use of any medical or wellness devices.