
Finger-Prick Pain: 5 Proven Ways to Make Testing Hurt Less
If finger pricking feels like a dreaded daily task, you're not alone. Fortunately, with a few simple adjustments, you can dramatically reduce discomfort. Here are 5 proven techniques—backed by science and user experience—that can make blood glucose testing significantly more comfortable. Finger-prick pain is more than a fleeting sting; it can influence how often people test and even their long-term glucose control. By understanding the small mechanical and neurological details that create discomfort, you can turn a dreaded task into a quick, almost automatic habit.
Researchers note that the anticipation of finger-prick pain activates many of the same brain regions involved in the actual physical sensation. Low-noise lancing devices, visualization techniques, and a consistent routine calm that anticipatory spike so the perceived intensity drops before the lancet even touches skin. Pairing these psychological strategies with vibration from Digivibe targets both mind and body for double the relief.

Why Finger-Prick Pain Happens
The fingertip pad contains a high concentration of nerve endings. Repeated punctures in the same area can inflame tissue and increase sensitivity over time. According to the American Diabetes Association, using modern lancing tools can reduce pain and prevent skin damage.
1. Prick the Side, Not the Pad
Lancing the side of your fingertip, halfway between the nail and pad, contacts fewer nerves while still producing a sufficient blood sample. This technique is supported by CDC guidance and explained further in our Digivibe Hub post Top 10 Diabetic Lancet Tips.
2. Warm Your Hands First
Improving circulation helps reduce the depth required for a full blood drop. Run your hands under warm water for thirty seconds or rub them together before testing. The importance of this warm-up is outlined by Henry Ford Health, and we break down timing and technique in Painless Glucose Monitoring.
3. Rotate Fingers and Adjust Depth
Use all ten fingers over time and adjust the depth setting on your lancing device. The American Diabetes Association recommends rotating sites to prevent soreness, and our article 5 Proven Ways to Make Testing Hurt Less walks you through depth settings step by step.
4. Use Thin Lancets with Vibration
Switching to 30–33 gauge lancets reduces tissue damage. Pair this with Digivibe: clinical data summarized in our Lancet Needle Guide shows up to an 86% drop in perceived pain. Additionally, a National Institutes of Health study on vibration-induced analgesia confirms the effects.
5. Keep Skin Moisturized and Use Fresh Lancets
Dry skin is more prone to tearing. Regular moisturizing preserves elasticity, and inserting a new lancet every time ensures a clean puncture. Revisit Top 10 Diabetic Lancet Tips to learn why fresh needles matter.
6. Equipment Hygiene
Clean tools cut down on inflammation that can amplify finger-prick pain. Wipe the lancing cap with an alcohol pad after your final test each night, store spare lancets in a dry case, and change the device’s spring every six months if the manufacturer offers replacements. Follow the CDC sharps-safety recommendations and consult our Lancet Needle Guide for a replacement schedule.
When to Contact a Healthcare Professional
Persistent redness, swelling, or sharp pain lasting longer than 48 hours could signal infection or trauma. Reach out to your provider or review Mayo Clinic’s advice on blood glucose testing for guidance.
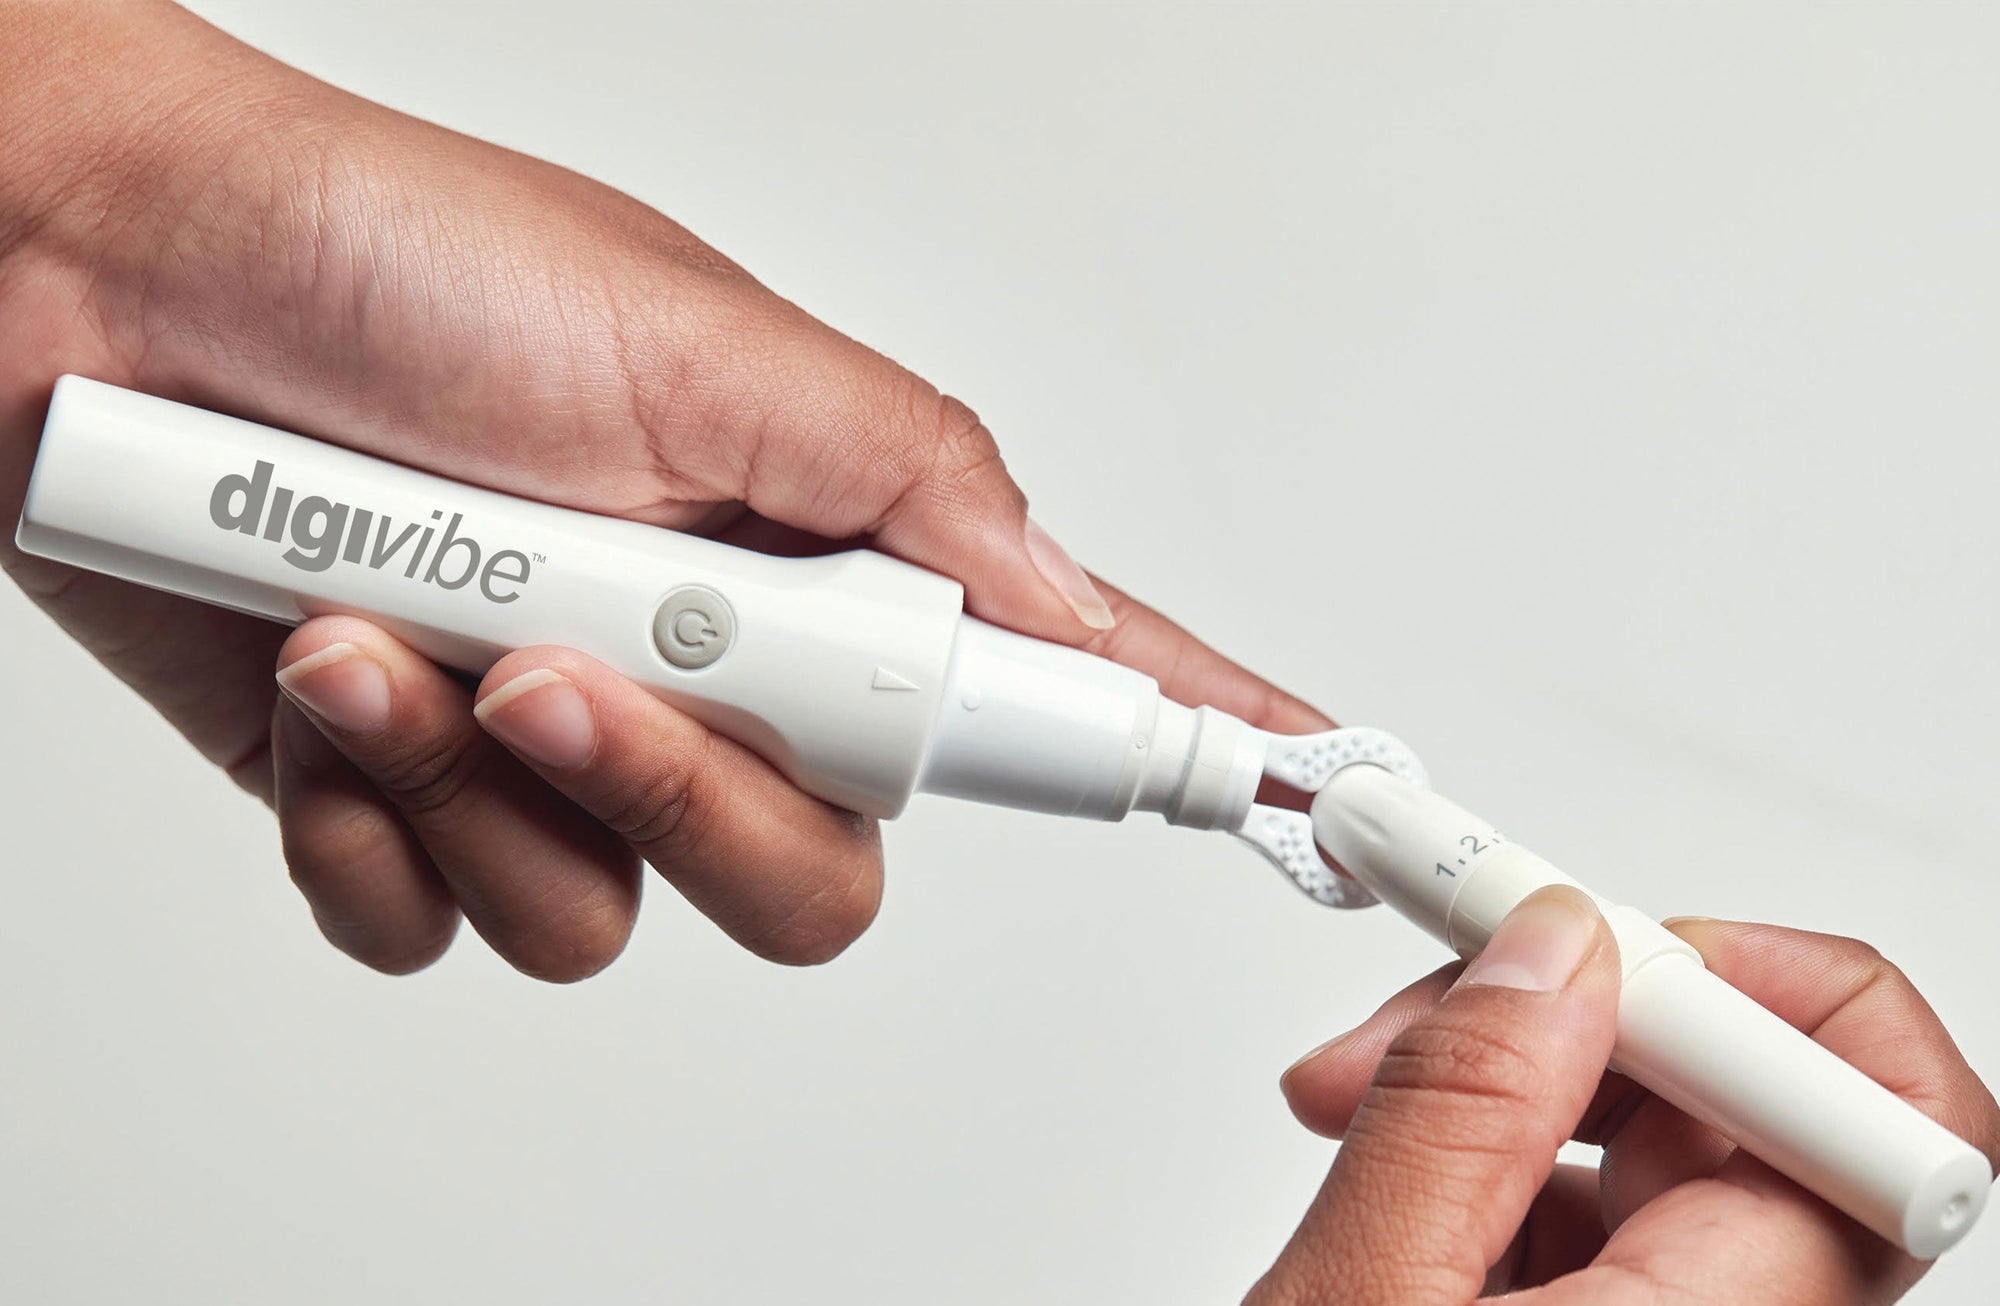
Try Digivibe for a Better Testing Experience
Thousands of users trust Digivibe to improve comfort and reduce injection-related anxiety. The complete kit is compatible with most lancing devices and includes everything you need to enhance your glucose monitoring routine.
For those of you newly diagnosed, read our article 7 Things I wish I had known when I was Diagnosed with Diabetes for fundamental information.
Share:
0 comments
Disclaimer: This blog is intended for general informational purposes only and does not constitute or substitute for professional medical advice, diagnosis, or treatment. Suthe does not provide medical services, and no content herein should be used to make healthcare decisions without first consulting a licensed healthcare provider. Always seek the guidance of a qualified medical professional regarding your health, wellness practices, or the use of any medical or wellness devices.